- John's Pro-Photo Tips -
Night Photography
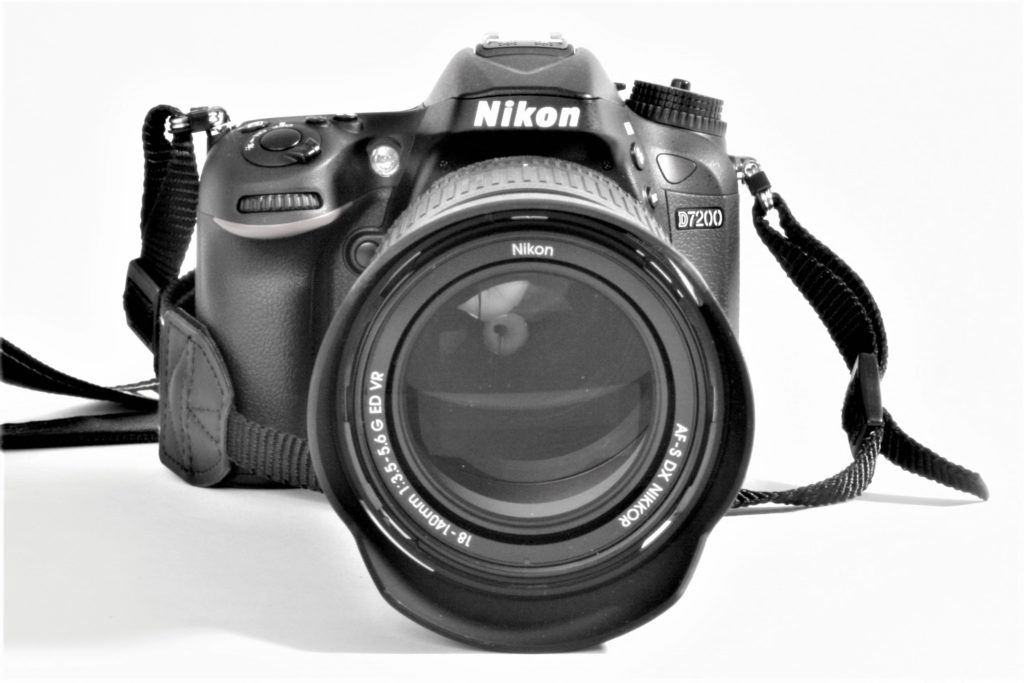
Equipment you will need for Night Photography
Night photography or shooting in very low light requires some special techniques to be successful. Although modern smartphones can produce acceptable results in brighter areas, a much better result is achieved with a DSLR camera.
For best results you will need a DSLR with a time exposure setting and a firm tripod. Because a time exposure will be necessary, which has a longer shutter speed, the camera will need to remain rigid.
Although modern DSLRs are capable of very high ISO with settings, which increase light sensitivity to the camera’s sensor, you should minimise the temptation to use a high ISO setting. Reducing the ISO setting will minimise the amount of “noise” or “grain”. You can read more about “noise”under ISO in Camera settings. Anything between 400 and 1600 ISO should be satisfactory for most situations.
Time Exposures
A longer time exposure will also allow for a smaller aperture, increasing depth of field.
In the same way, a time exposure also enables you to achieve special effects in Night Photography. For example, if your shot has roads with car headlights or rear lights visible, you will be able to create a “streaking” effect from the car lights. To explain, this is created by the movement of the vehicles while your shutter is open during your time setting. It must be remembered, the longer your time exposure the greater the effect. But be careful not to over expose your image in the process. Of course, this is where a smaller aperture is effective to compensate for a longer time shutter speed.
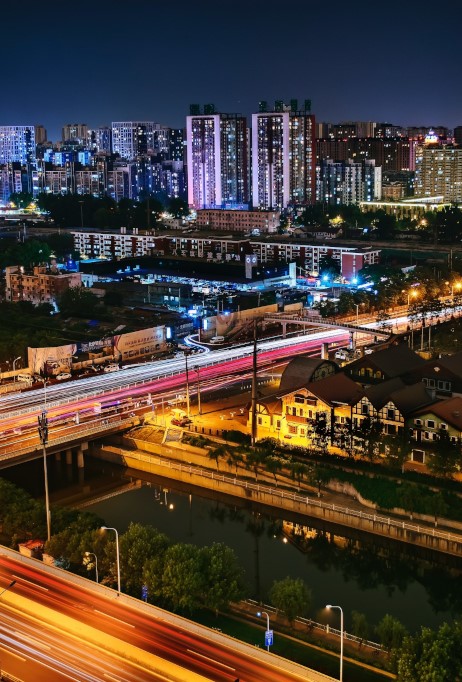
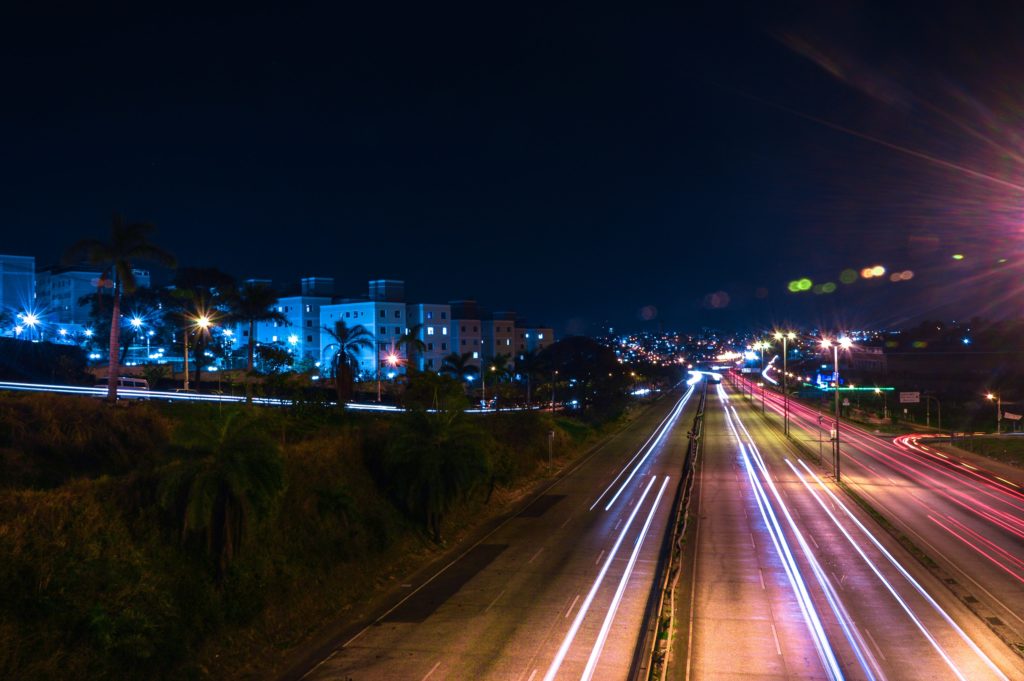
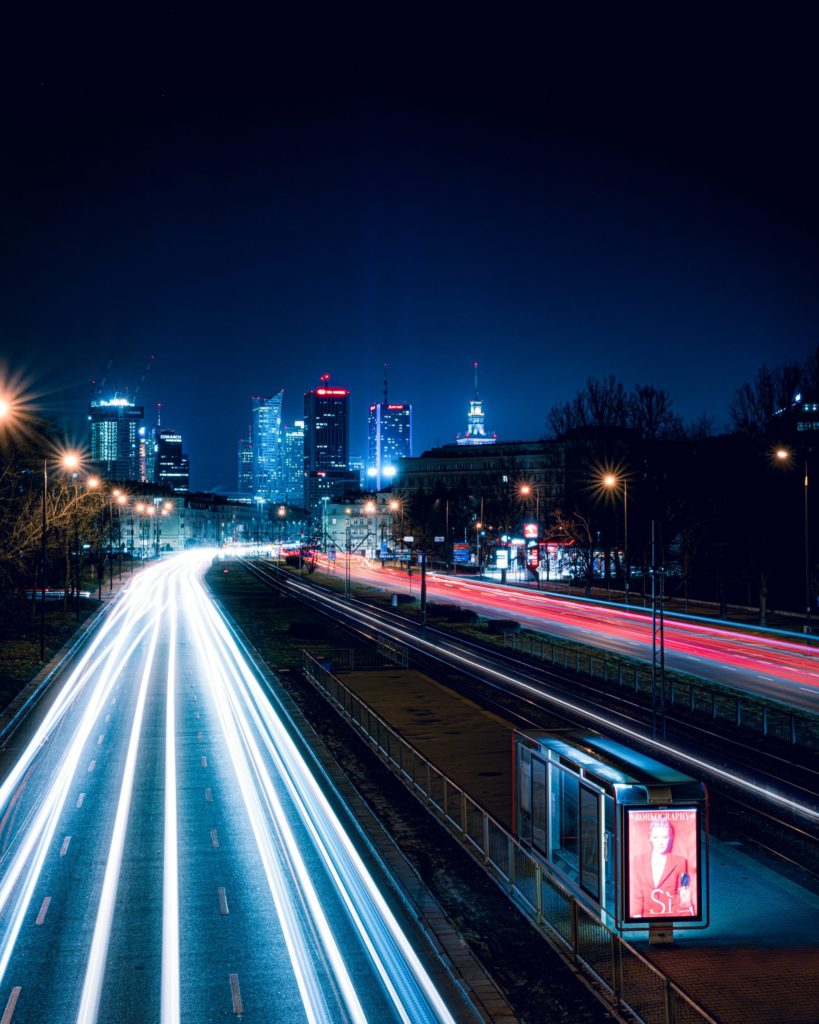
However, a time exposure has one major drawback. While a fast shutter speed will “freeze” camera movement caused by hand-shake, that is not true of a long shutter speed. During a time exposure, the camera must be kept perfectly still. In truth, even someone with a steady hand will find this impossible, so for that reason, a tripod is essential when using the time setting.
Timing your Night Photography
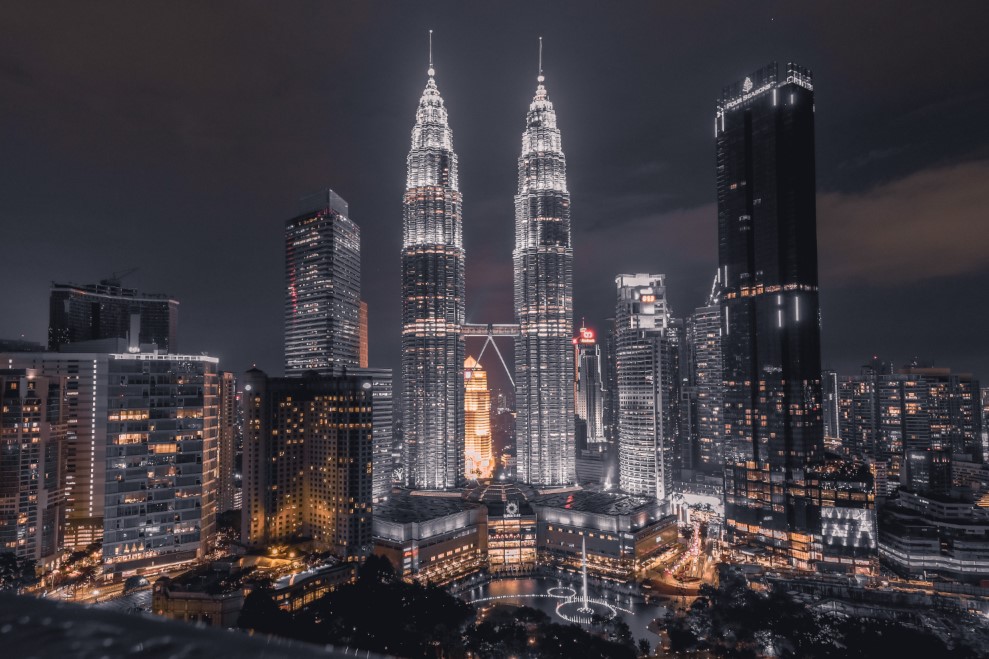
If you are photographing a city scape at night, don’t wait until all daylight has totally disappeared. Markedly better results are achieved around dusk when there is still some light to show the outline of buildings and other structures. In addition, I also find it preferable to shoot cities on a workday during the week, when there are likely to be more lights illuminated in buildings etc. To summarise, the ideal time to shoot is on a day when dusk falls before workers have left for the day.
Focus
When focusing my night shots, I prefer to shoot in manual focus mode. Auto focus, although efficient in daylight, has a tendency to focus on brighter objects, blurring other areas that may be important to your overall composition.
Exposure Braketing
Another good tip is to bracket exposure settings. For instance, let’s say you have decided that an aperture of f/16 will give you good depth of field and 800 ISO is sufficient sensitivity. To begin with, take several shots at different shutter speeds. Then when you download your images and view them on a larger screen, you will be able to compare the differences in light and shadow detail that are more profound than in a daylight shot.
Do you have any questions around night photography?

